;
};
## Overview
The Fireblocks Network is a secure transfer system enabling immediate discovery, connection, and transfer of digital assets among exchanges, fiat providers, liquidity partners, and counterparties.
To connect a WhiteBIT account to Fireblocks, generate a unique API key and an API secret. These are the credentials required to use an API Hook.
The standard WhiteBIT API key is unsuitable for Fireblocks integration. Generate a specific Fireblocks API key following the instructions below.
***
## Generate Fireblocks API Key
Follow these steps to generate a Fireblocks API key in WhiteBIT:
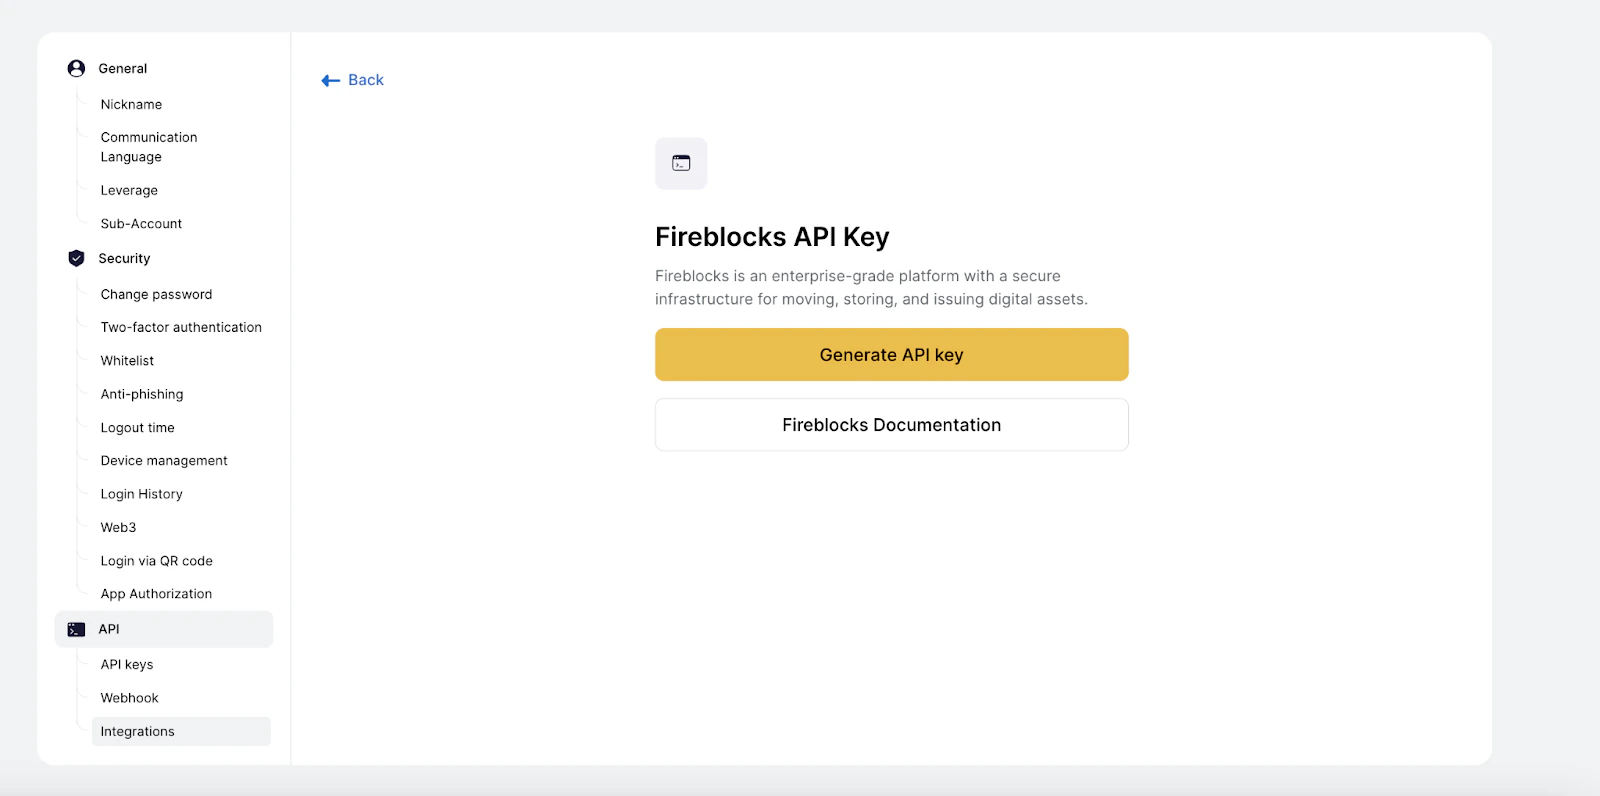
### Step 1: Navigate to API Integrations
Log in to WhiteBIT and open the "API" page in the account settings.
In the "API" section, choose "Integrations".
***
### Step 2: Generate the API Key
Press the "Generate API key" button on the Integrations page.
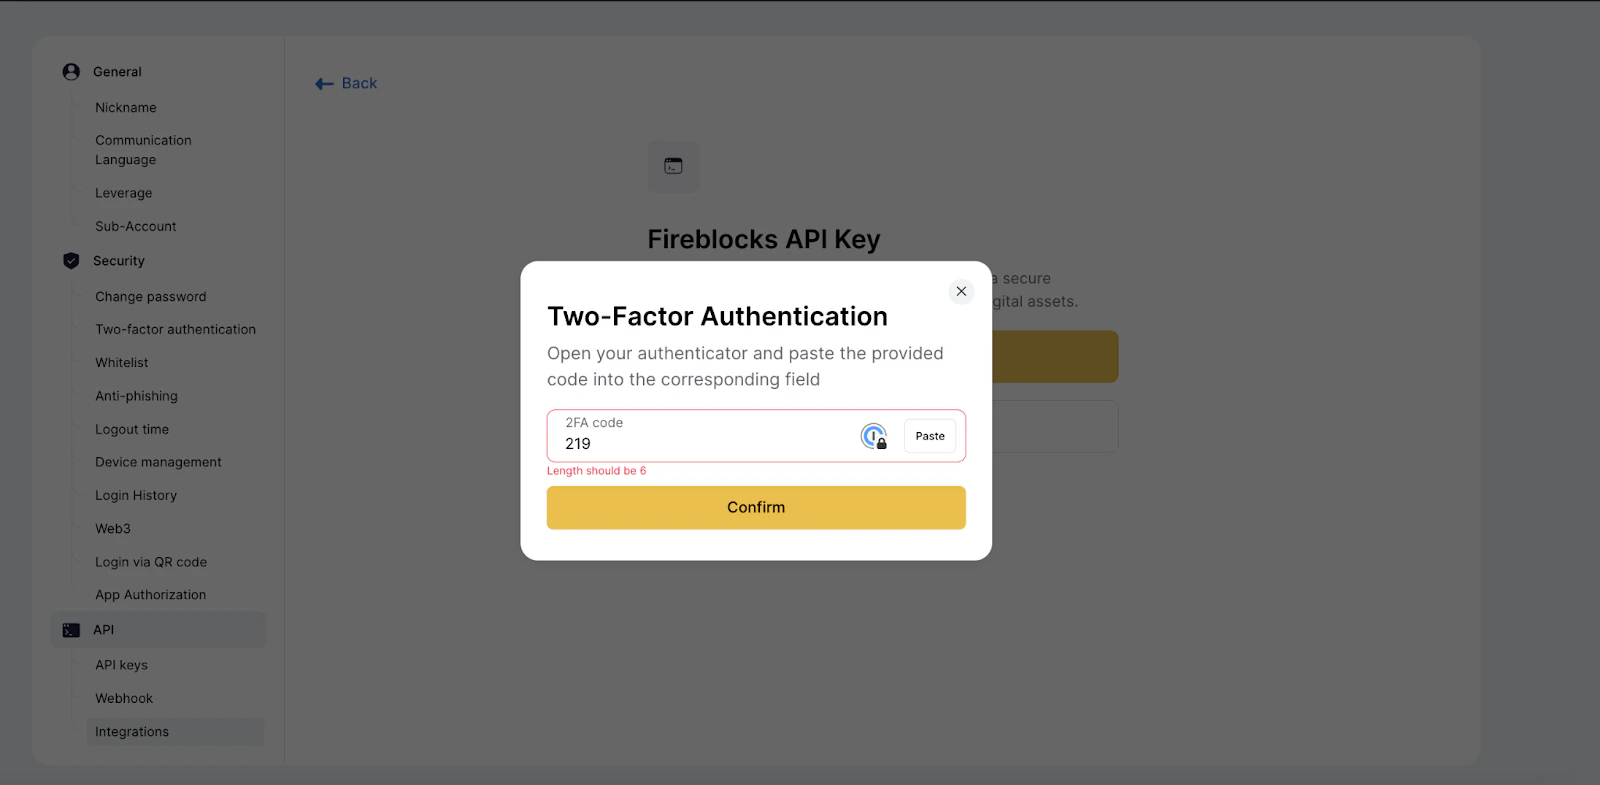
Two-factor authentication (2FA) confirmation is required to complete the key generation process. Enter the 2FA code from the Authenticator app.
Enable 2FA on the account before proceeding with API key generation.
***
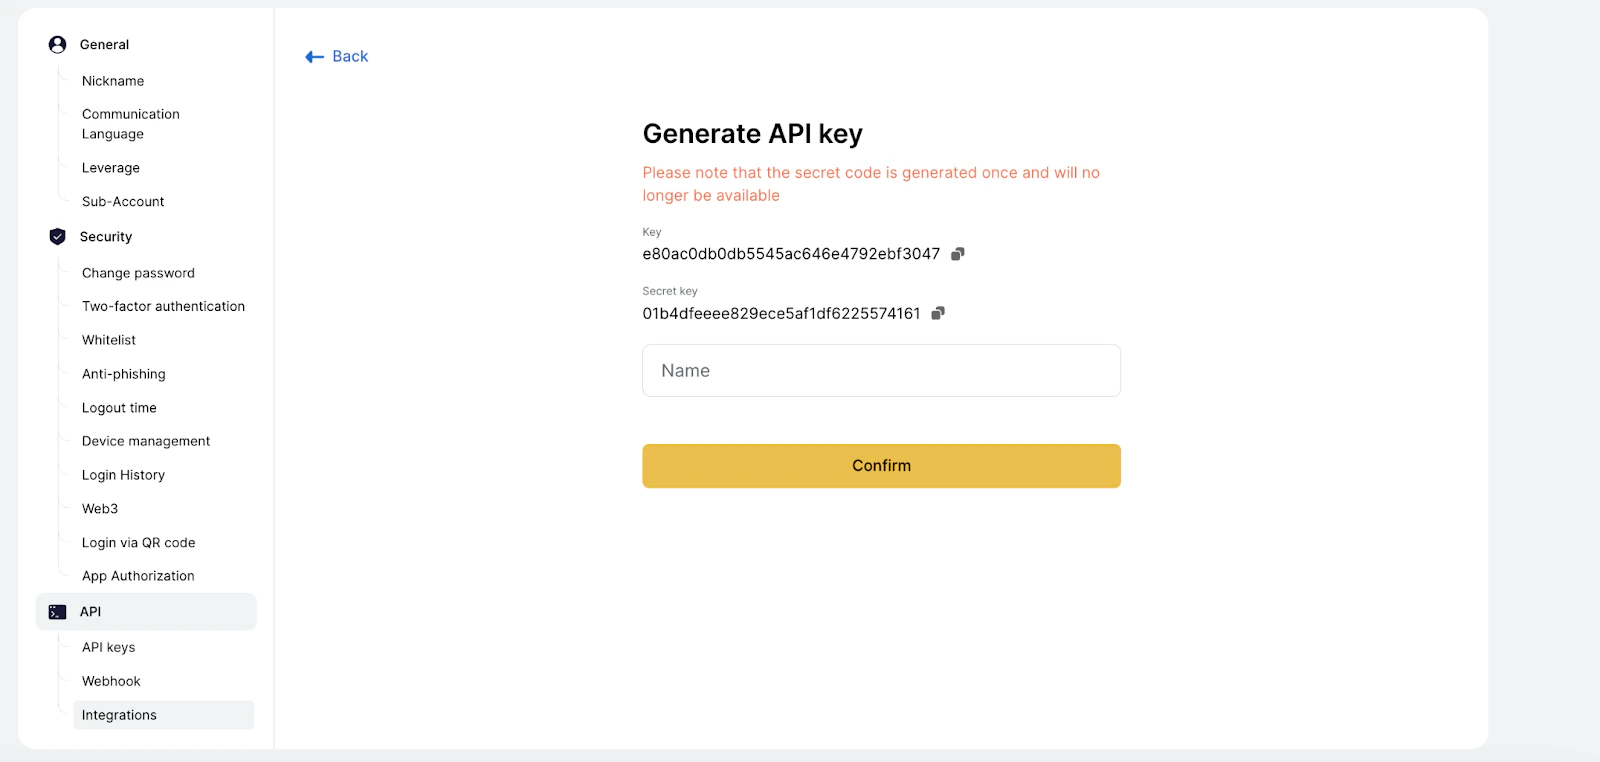
### Step 3: Save credentials
After successfully entering 2FA, the system will automatically generate a unique API key and API secret.
**Important Security Notice:**
The API secret will only be visible once. Store the generated API secret immediately in a secure location. If the API secret is lost, generate a new API key.
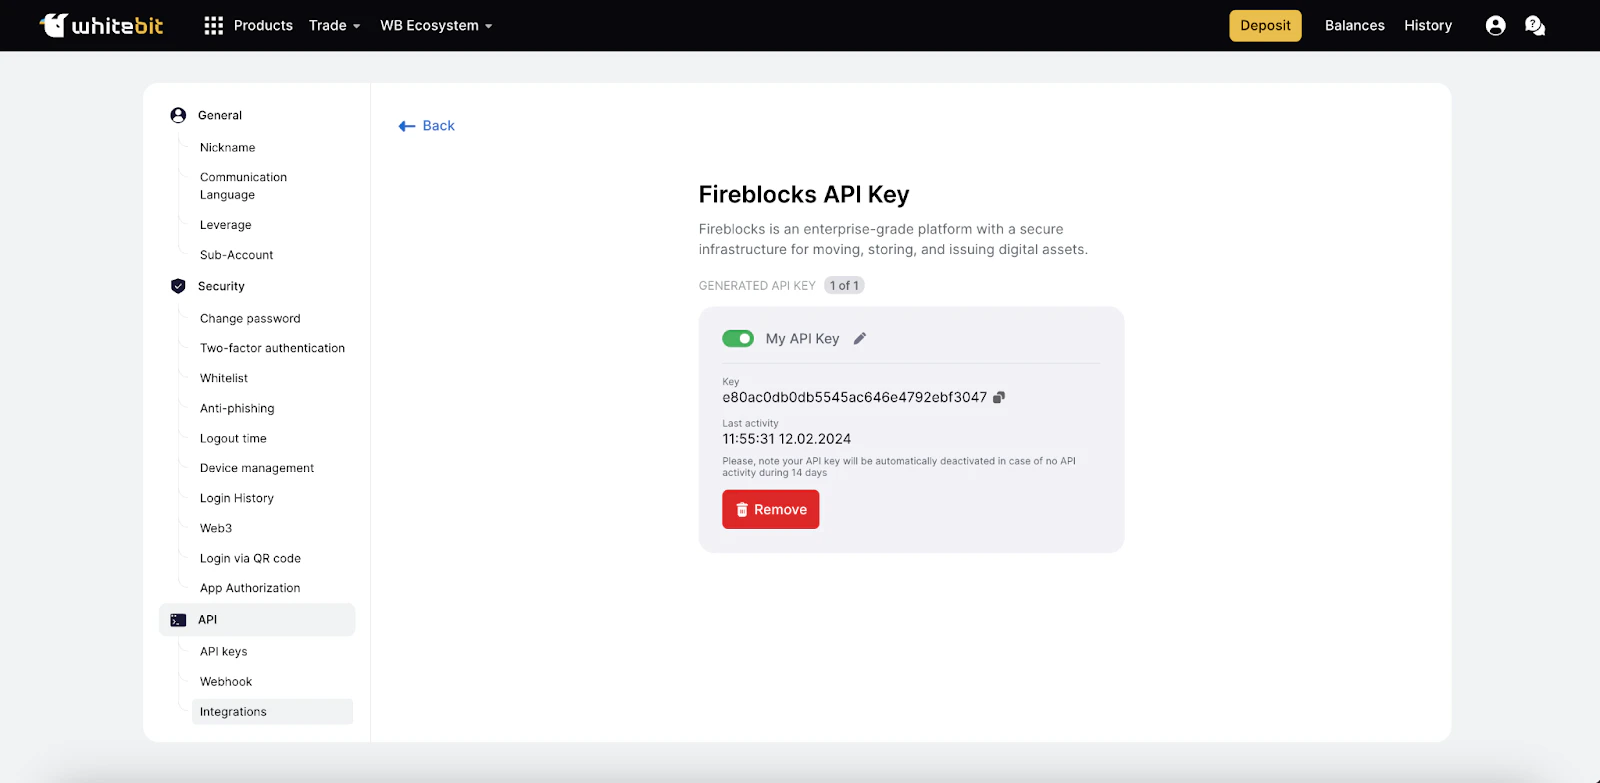
Unique API key identifier viewable anytime
Private secret key - only shown once during generation
***
### Step 4: Name the API key
Give a descriptive name to the API key. This helps identify the key's purpose later.
Confirm the completion of the key generation process by following the on-screen instructions.
***
## Important Limitations
**Key Generation Limit:**
The Fireblocks system allows generating a maximum of **one API key** per account. Plan accordingly and store credentials securely.
***
## Quick Configuration Guide
To connect a WhiteBIT account to Fireblocks:
On the "API" page, choose "Integrations" and click "Generate API Key"
Confirm the operation with the 2FA code from the Authenticator app
The system will automatically generate an API key and an API secret. Keep track of both the API key and the API secret
Give a title to the generated key
Confirm the key generation
Remember: Only one key can be generated per account.
***
## Best Practices
Store the API secret in a secure password manager or encrypted vault
Limit access to API credentials to authorized personnel only
Monitor API activity regularly for any unauthorized usage
Keep secure backups of credentials in multiple safe locations
***
## Next Steps
After generating and saving the Fireblocks API key and secret, proceed to:
1. Configure the Fireblocks account with the WhiteBIT credentials
2. Set up transfer policies and workflows
3. Begin transferring digital assets securely
For more information about Fireblocks integration, refer to the Fireblocks documentation.
***
## Need Help?
Contact WhiteBIT support for assistance
Explore WhiteBIT API documentation
 ***
### Step 2: Generate the API Key
***
### Step 2: Generate the API Key
 ***
## Important Limitations
***
## Important Limitations